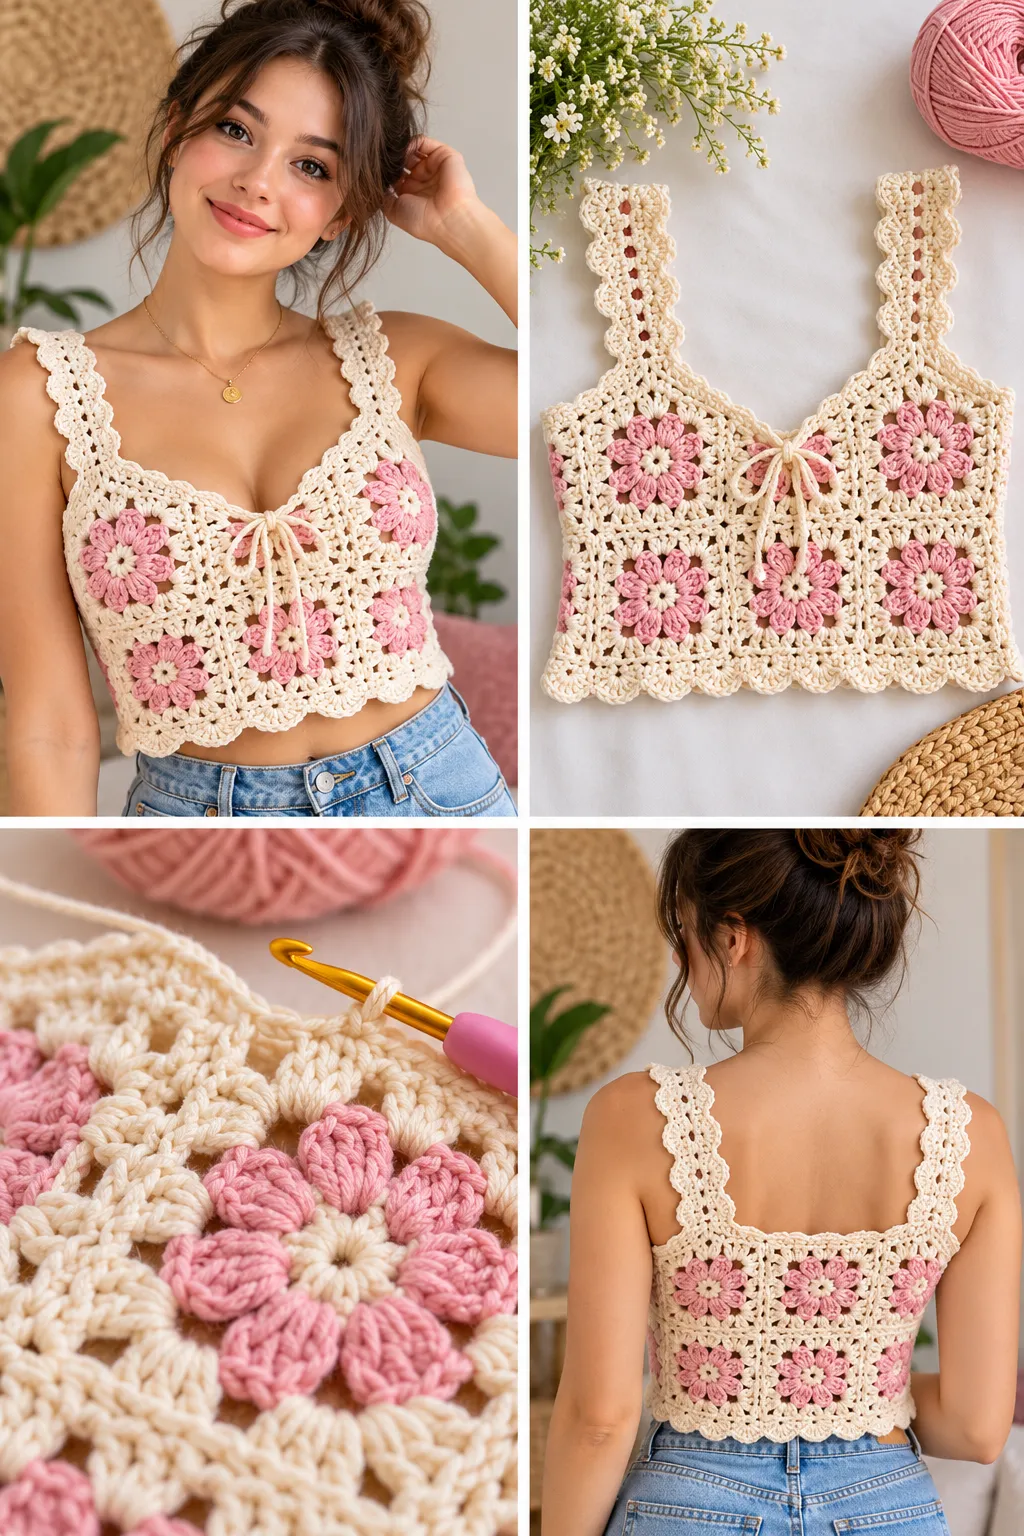
This is a wearable pattern, not an amigurumi, so it has a size chart and a gauge section that the toy patterns don’t need. The Easy Crochet Top is a simple summer tank made from two rectangles and two short straps, with no armhole or neckline shaping. If you can chain, work half double crochet, and sew a seam, you can make it. Wear it alone in summer, or layer it over a long-sleeve tee in autumn.
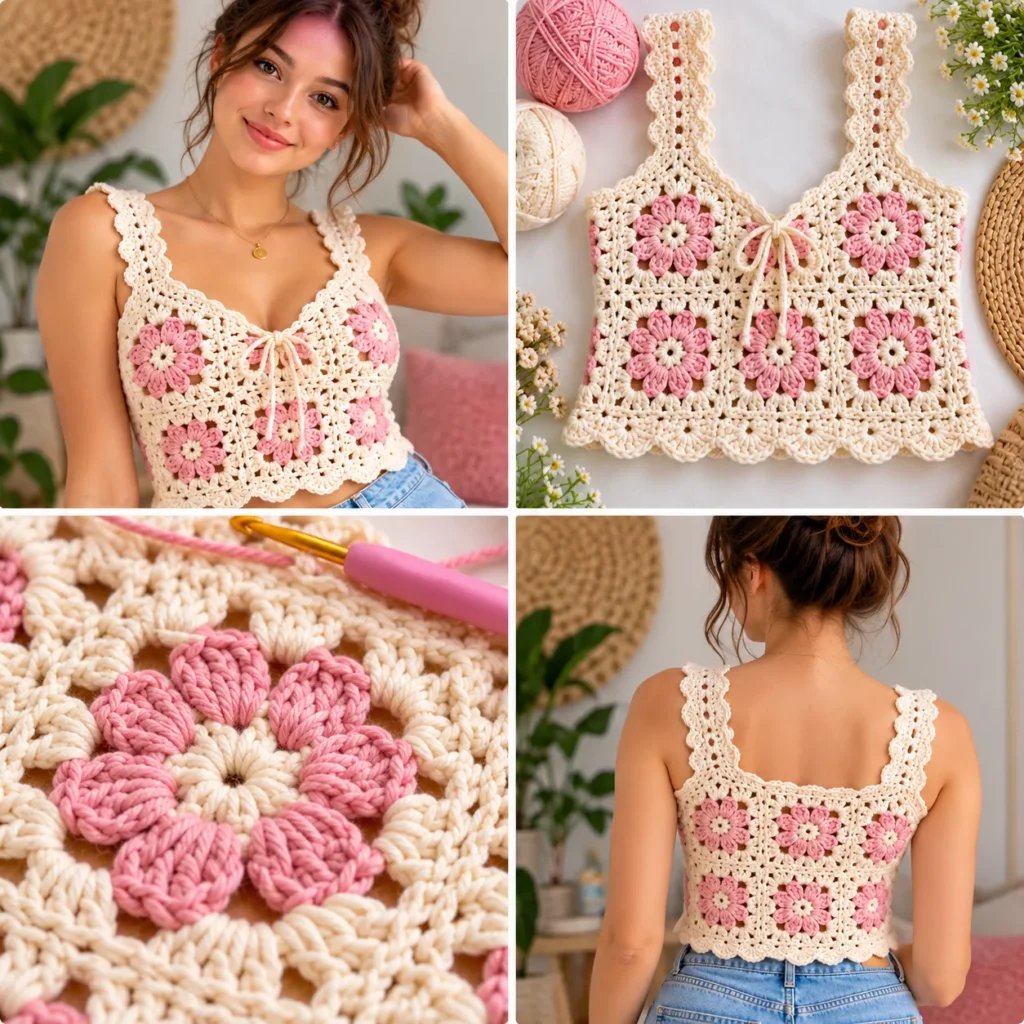
Pattern Information
Skill level: Beginner, using only chains, half double crochet, and simple seams.
Terms: US crochet terminology.
Construction: The front and back are identical rectangles worked flat from the bottom up. The straps are worked straight off the top of each rectangle. The top is seamed at the shoulders and sides, then finished with a simple edging.
Sizes: S (M, L, XL). Finished bust: 90 (100, 110, 120) cm / 35.5 (39.5, 43.5, 47) in. This includes about 4 to 10 cm (1.5 to 4 in) of ease, so it fits loosely.
Finished length: About 50 cm (19.5 in) from hem to shoulder in all sizes.
Pattern note: This is an original design based on the title concept. Stitch counts have been checked, but the pattern has not been physically crocheted or independently tested. Always check your gauge and adjust the hook size or stitch counts before you commit to the full top.
Materials
- DK-weight cotton yarn, approximately 150 (170, 190, 210) g, or about 375 (425, 475, 525) m. These are starting allowances, so buy one extra ball if you are between sizes or want to lengthen the top.
- A 4 mm hook as a starting point (adjust to match the gauge).
- Tapestry needle, scissors, stitch markers, and pins.
- A measuring tape, and a blocking mat or towel.
Stitches and Abbreviations
| Abbreviation | Meaning |
|---|---|
| ch | chain |
| sl st | slip stitch |
| sc | single crochet |
| hdc | half double crochet |
| st(s) | stitch(es) |
| RS | right side |
The turning chain (ch 2) does not count as a stitch. Numbers in brackets give the stitch count at the end of each row.
Gauge
16 sts and 12 rows = 10 cm (4 in) in half double crochet, after blocking.
Gauge decides whether the top fits, so do not skip the swatch. Chain 22, work Row 1 and then 14 more rows of hdc (see the pattern below), and block it. Measure across 10 cm.
- Too many stitches in 10 cm: go up a hook size.
- Too few stitches in 10 cm: go down a hook size.
Cotton relaxes when it is washed, so measure after blocking.
Size Chart
| S | M | L | XL | |
|---|---|---|---|---|
| Finished bust | 90 cm | 100 cm | 110 cm | 120 cm |
| Panel width | 45 cm | 50 cm | 55 cm | 60 cm |
| Stitches per panel | 72 | 80 | 88 | 96 |
| Foundation chain | 74 | 82 | 90 | 98 |
| Stitches per strap | 14 | 16 | 18 | 20 |
All sizes have 44 stitches between the straps for the neckline, which is about 27 cm (10.75 in) wide.
Before You Begin
Half double crochet makes a soft, drapey fabric, so it is a good choice for a first wearable. Count your stitches at the end of every row. The count must stay the same all the way up, or the edges will go wavy.
To make the top longer or shorter, add or remove rows in the body section. Twelve rows add about 10 cm (4 in). Try the first panel against your body before you make the second.
Front and Back (make 2 the same)
Ch 74 (82, 90, 98).
Row 1: Hdc in the 3rd ch from the hook and in each ch across. Turn. [72 (80, 88, 96)]
Rows 2–48: Ch 2, hdc in each st across. Turn. [72 (80, 88, 96) per row]
Do not fasten off yet. The panel should measure about 40 cm (16 in) tall.
Straps
Work the straps directly onto each panel.
Row 49 (right strap): Ch 2, hdc in the next 14 (16, 18, 20) sts. Turn. Leave the remaining stitches unworked. [14 (16, 18, 20)]
Rows 50–60 (right strap): Ch 2, hdc in each st across. Turn. [14 (16, 18, 20)]
Fasten off with a long tail for sewing.
Left strap: With the RS facing you, skip the 44 center stitches, then join yarn in the next stitch. Ch 2, hdc in the same stitch and in each of the remaining 13 (15, 17, 19) sts. Turn. [14 (16, 18, 20)] Work Rows 50–60 as for the right strap, then fasten off with a long tail.
Note: the strap is 12 rows long including Row 49, which is about 10 cm (4 in).
Assembly
- Block both pieces. Pin each panel flat to the measurements in the size chart, spray lightly with water, and let it dry completely. Blocking makes seaming much neater.
- Shoulder seams: Place the front and back panels together with right sides facing. Use the long tails to sew the top edge of each front strap to the matching back strap. Use mattress stitch or a whip stitch with a loose, even tension.
- Side seams: Pin the sides together at the hem and at the point 34 rows up, which is about 28 cm (11 in). Sew the side seams from the hem upward and stop at the pin. The rest of each side is the armhole.
- Weave in all ends.
Edging
Work one round of single crochet around the neckline and each armhole to give a neat, firm finish.
Neckline: Join yarn at a shoulder seam. Ch 1, sc evenly around the neckline, working about 1 sc per row end along the straps and 1 sc in each stitch along the bottom of the neckline. Join with a sl st to the first sc. Fasten off.
Armholes: Join yarn at the underarm seam. Ch 1, sc evenly around the armhole, working about 1 sc per row end. Join with a sl st to the first sc. Fasten off and weave in the ends.
Note: the stitch counts on the edging depend on your tension. If the edge ripples, skip a stitch here and there. If it pulls in, add one.
Optional hem: Join yarn at a side seam, ch 1, and work 1 sc in each foundation chain around the hem. Join and fasten off. This stops the hem from curling.
Finishing
Wash the top gently in cool water, press out the water in a towel without wringing, and lay it flat to dry. Cotton stretches when it is wet, so do not hang it up to dry.
Practical Tips and Troubleshooting
The edges are wavy. The stitch count changed along the way. Count at the end of every row, and place a stitch marker in the first stitch of the row so it is easy to find.
The fabric feels stiff. Go up half a hook size, or crochet a little more loosely.
The top is too tight. Make the next size up, or go up a hook size. Always check gauge against the chart.
The shoulders sag. Use a smaller hook for the straps, or work them 2 stitches narrower.
The seams are bulky. Use mattress stitch and keep the seam stitches loose and flat. Blocking before seaming helps a lot.
The top is too short. Add rows in groups of 12 before Row 49, which add about 10 cm (4 in).
FAQ
Can I use acrylic or cotton blend yarn? Yes. Check that it is DK weight and re-check your gauge. Cotton has no stretch, so choose a blend if you want a more forgiving fit.
Can I make it cropped? Yes. Work fewer body rows, for example 36 instead of 48, and shorten the side seam to match. Every 12 rows is about 10 cm (4 in).
Can I add a color stripe? Yes. Change color every 4 rows, and carry the yarn up the side. Cut and weave in the ends if the stripes are further apart.
Can I make the straps thinner? Yes. Work fewer stitches in the straps, and add 2 more to the neckline width. Keep the total at 72 (80, 88, 96).
Do I need to block it? Yes, it is recommended. Blocking makes the seams neater and sets the size.
More Free Crochet Patterns
- Free Crochet Table Runner Pattern (Shell Stitch)
- Easy Amigurumi for Beginners (Whale)
- Crochet Dinosaur Pattern
Save This Pattern
Pin this Easy Crochet Top Pattern to your Pinterest board for your first wearable project. Happy crocheting!