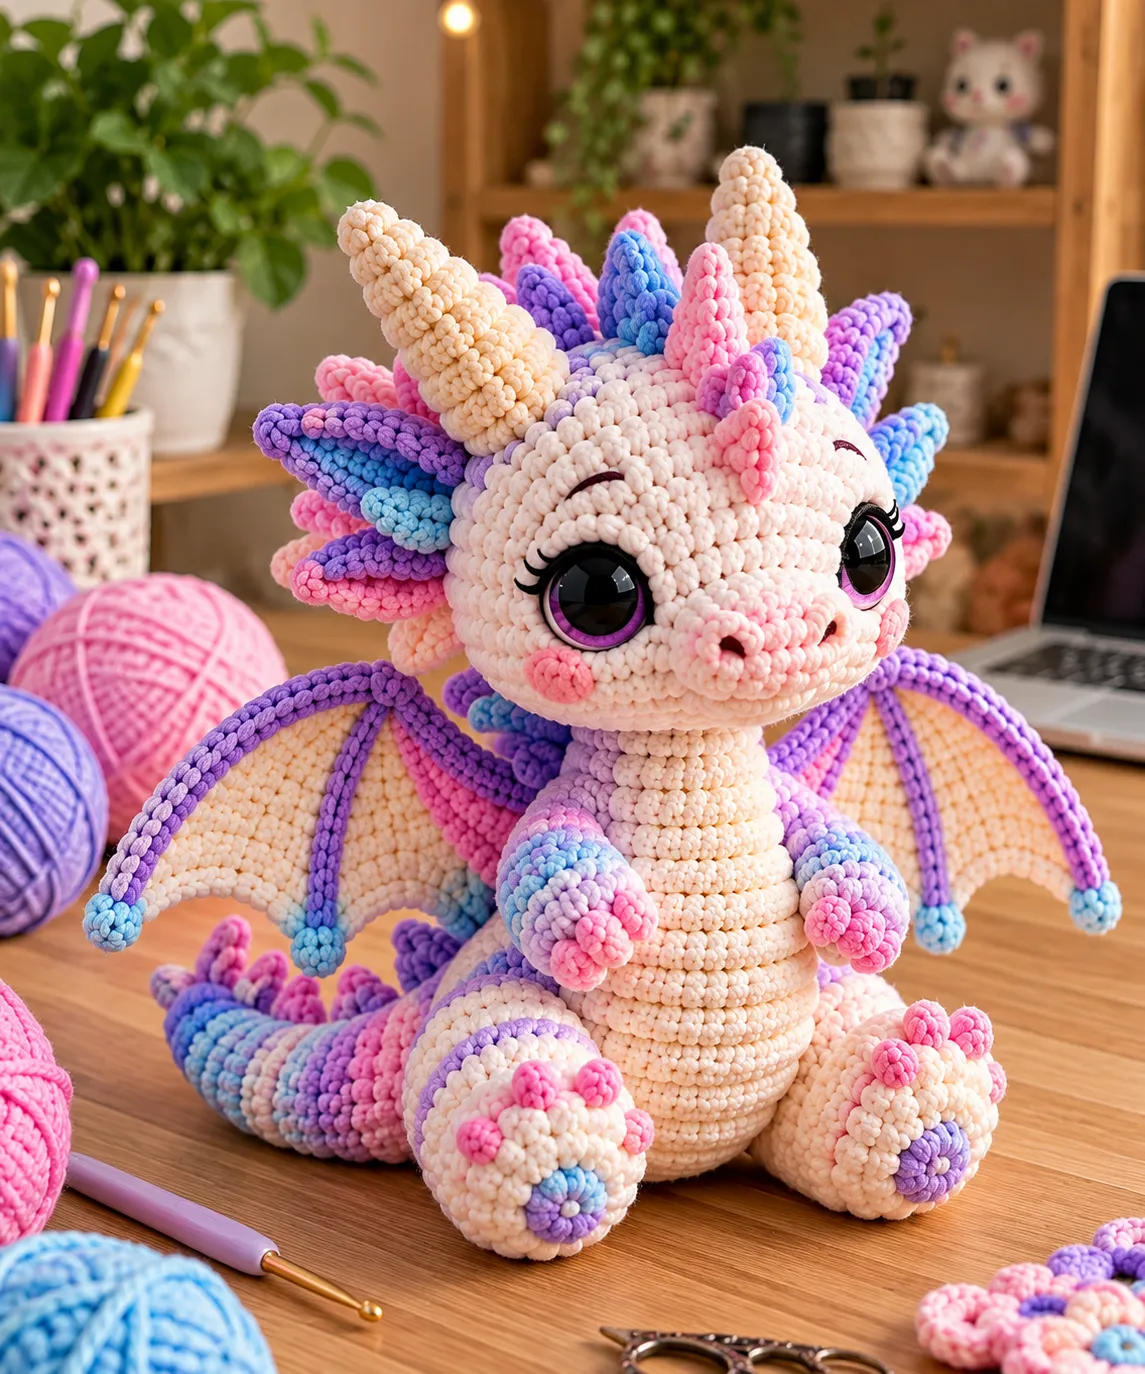
Dragons are one of the most rewarding subjects in amigurumi. They can be tiny and sweet, fierce and sculptural, or soft and cuddly enough to sleep with. This collection brings together ten dragon ideas, from pocket-sized baby dragons to winged guardians with layered scales. Each one comes with suggestions for yarn, shaping and finishing details.
Every idea uses the same simple building blocks: a round head, a plump body, small wings and a curled tail. Once you know them, you can mix and match to design your own dragon. Whether you are a beginner who wants a quick weekend project or an advanced crocheter who loves sculpted details, there is something here to start from.
Why You’ll Love These Dragon Ideas
I love dragons because they let you play with everything at once: color, texture, shaping and personality. A few spikes can turn a plain round creature into a fierce little guardian, and a pair of oversized eyes can turn the same dragon into the sweetest friend you have ever stitched. My favorite part is choosing the details, like the tiny horns, the scalloped belly plates and the wings that catch the light. Every dragon ends up with a character of its own, and that is what makes them so satisfying to pose and display.
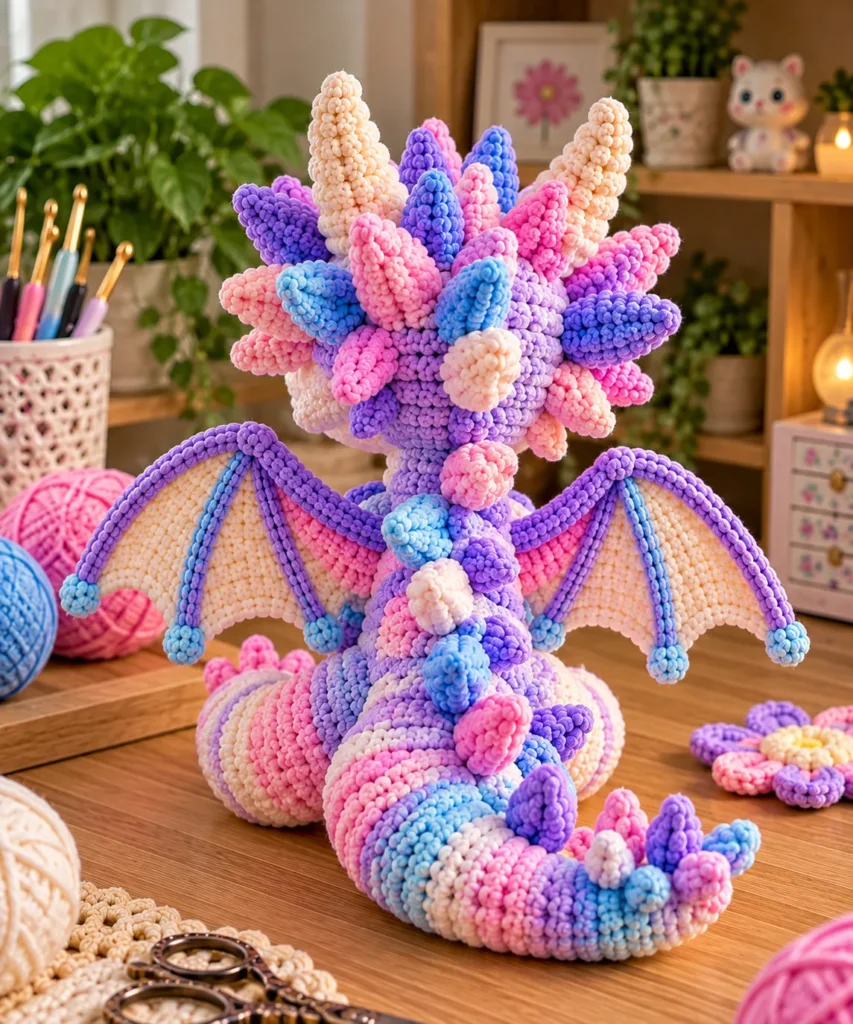
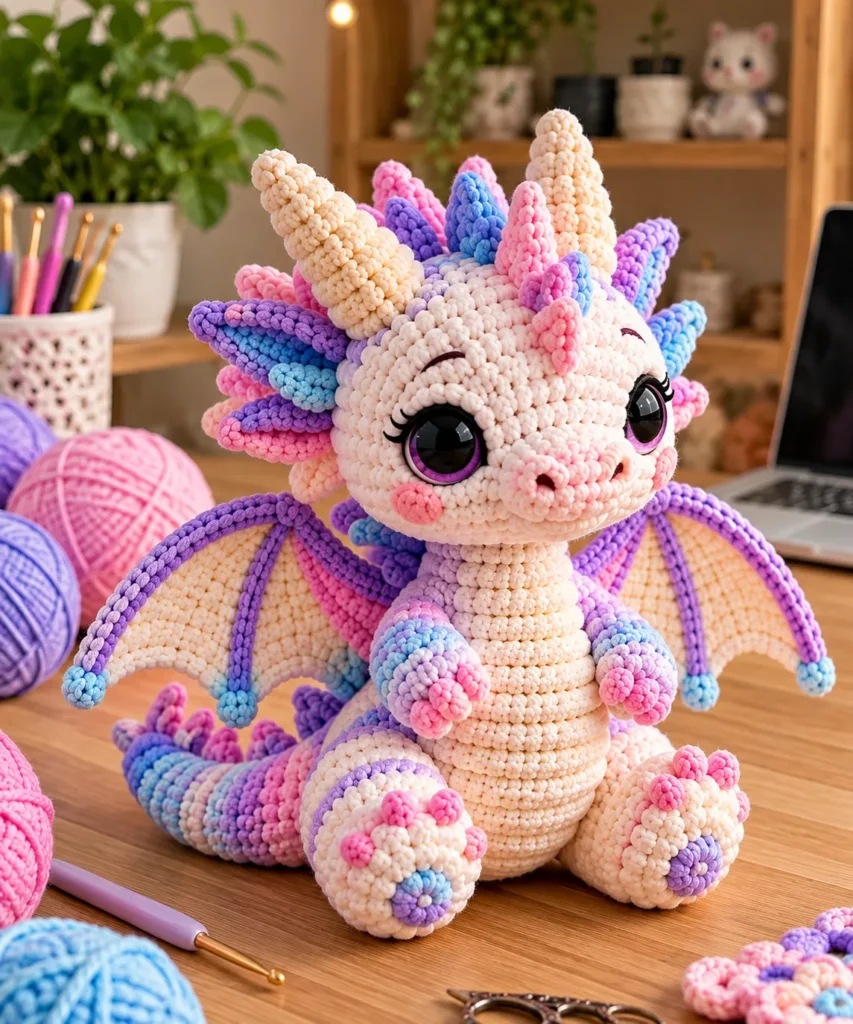
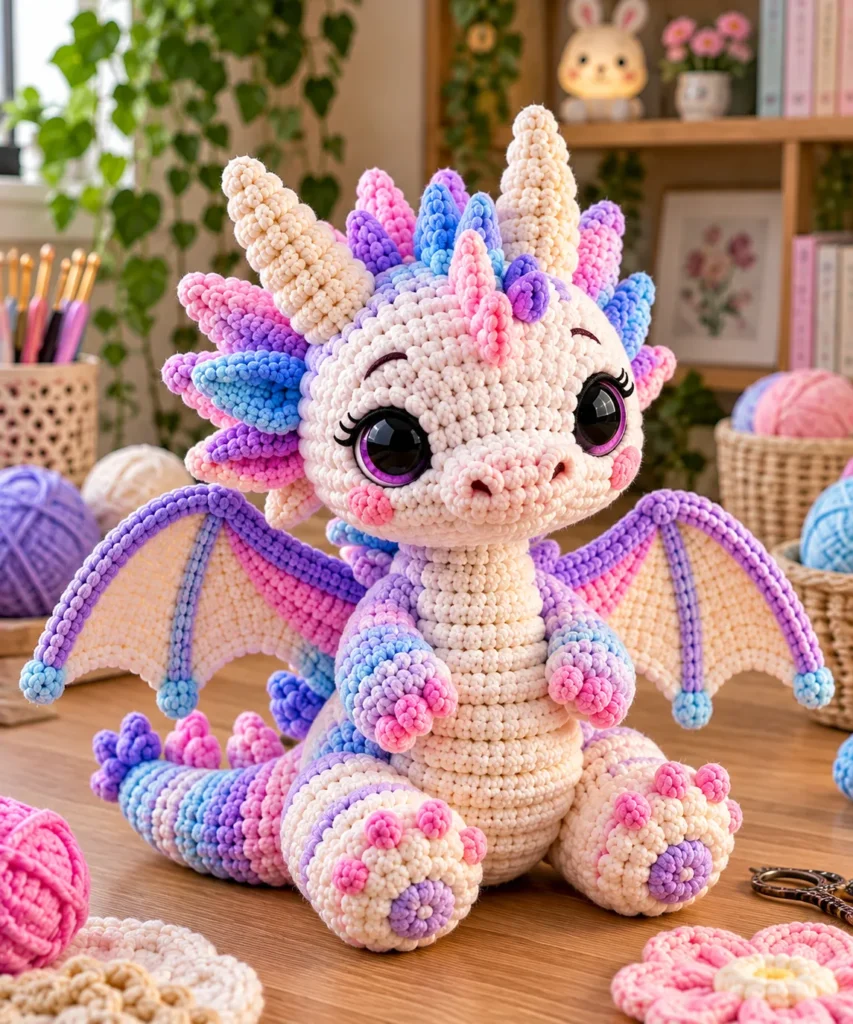
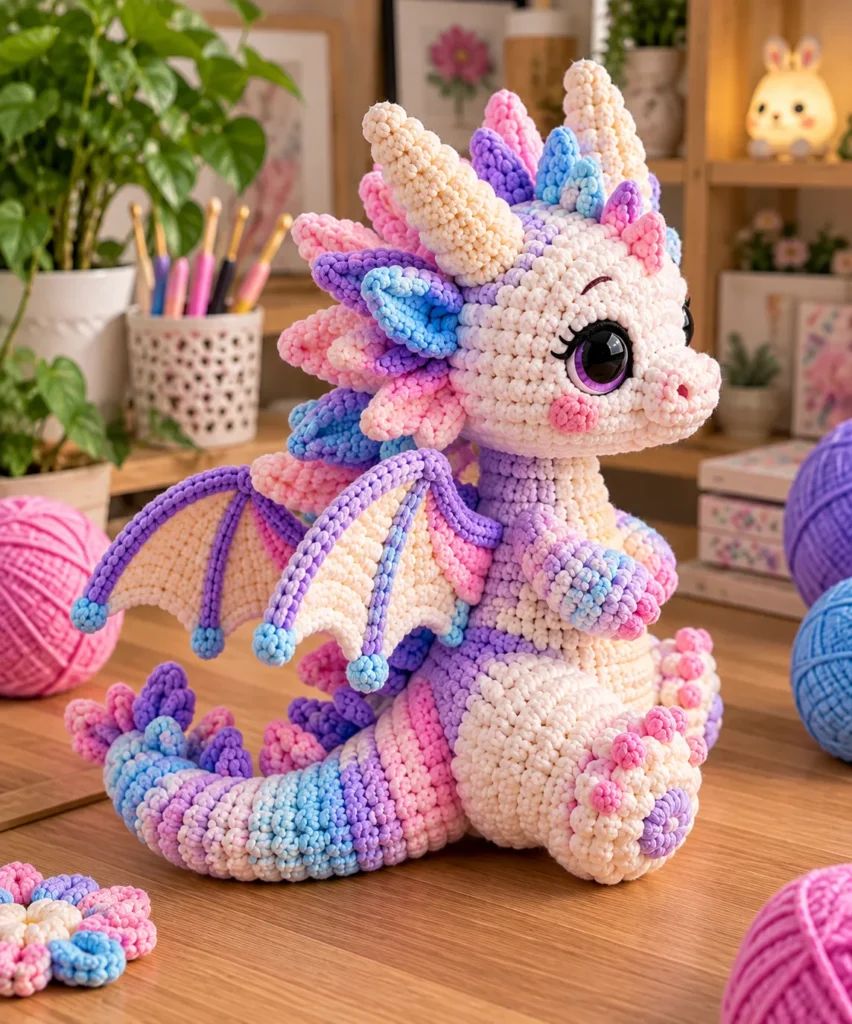
10 Adorable Crochet Dragon Ideas
1. The Chibi Baby Dragon
A big head, a tiny body and stubby legs. Use 4.5 mm eyes, a soft pastel palette and short rounded horns. This is the best starting point for beginners and finishes in an afternoon.
2. The Frost Dragon
White body, pale blue underbelly and crystal-like spikes made from translucent acrylic or glittery yarn. Add a shimmer thread to the top scales for an icy glow.
3. The Sleepy Cuddle Dragon
Closed embroidered eyes, a curled body and soft plush yarn. Make it extra squishy with a lightly stuffed body, and give it a little heart-shaped tail tip.
4. The Fire-Breathing Dragon
Deep red or orange body with a gradient yellow belly. Make a small flame from felt or yarn and tuck it into the open mouth for instant drama.
5. The Tiny Pocket Dragon
Use sport or fingering weight yarn with a 2.0 mm hook to make a dragon about 6 cm tall. It is perfect for keychains, bag charms and gifts.
6. The Forest Dragon
Moss green, brown and cream tones, with leaf-shaped wing membranes and small mushroom spikes along the back. This one pairs beautifully with embroidered flowers.
7. The Galaxy Dragon
Dark navy or purple yarn with tiny embroidered stars and a gradient or speckled yarn for the wings. Add silver bead eyes for a magical finish.
8. The Rainbow Dragon
Use a different color for each section: horns, spikes, wing ridges and tail tip. Keep the body in a single soft neutral so the colors stand out.
9. The Poseable Guardian Dragon
Add a wire core to the neck and tail so you can curl it around a shelf or bookend. This is a good project for advanced crocheters who love sculptural shaping.
10. The Dragon Hatchling in an Egg
Crochet a cracked egg shell with a hatchling peeking out. This is an adorable gift idea for baby showers and fantasy lovers.
Switch Things Up
You can swap any palette for a different mood: jewel tones for a royal look, black and gold for a sleek dragon, or soft pastels for a nursery piece. Use heavier yarn and a larger hook for an oversized display dragon, or go the other way for a miniature.
You can also change the eyes. Embroidery gives a sleepy look, safety eyes give a classic toy look, and glass cabochons give a glossy, realistic gaze. For extra sparkle, add a strand of metallic thread to a few top scales.
Common Mistakes & How to Fix Them
✗ Using too large a hook makes stuffing show through; go down one hook size for a firmer fabric
✗ Skipping stitch markers leads to uneven shaping and misaligned features; always mark the first stitch of every round
✗ Stuffing only at the end makes narrow parts hard to fill; stuff each piece as you go
✗ Sewing wings and horns without pinning causes asymmetry; pin first, step back and check the balance
✗ Overstuffing the legs makes them hard to sew on; stuff paws firmly and legs moderately
✗ Attaching safety eyes after stuffing is nearly impossible; fasten the washers early
✗ Cutting yarn tails too short makes assembly fiddly; leave long tails on every piece you plan to sew
Basic Dragon Head Pattern (to Start Any Idea)
Level: Beginner to Intermediate
Time: about 1 hour for the head
Materials
- DK or worsted weight yarn in your main color
- 2.5 mm hook for DK, or 3.5 mm for worsted
- Safety eyes (10–12 mm)
- Polyester fiberfill
- Stitch marker and yarn needle
Head
Round 1: 6 sc in magic ring (6)
Round 2: 6 inc (12)
Round 3: (1 sc, inc) x 6 (18)
Round 4: (2 sc, inc) x 6 (24)
Round 5: (3 sc, inc) x 6 (30)
Round 6: (4 sc, inc) x 6 (36)
Round 7–12: 1 sc in each st (36)
Info: Place the safety eyes between Rounds 9 and 10, about 8 stitches apart. Secure the washers before you start stuffing.
Round 13: (4 sc, dec) x 6 (30)
Round 14: (3 sc, dec) x 6 (24)
Round 15: (2 sc, dec) x 6 (18)
Info: Stuff the head firmly now, since the opening will become too small to reach into later.
Round 16: (1 sc, dec) x 6 (12)
Round 17: 6 dec (6)
Fasten off and close the opening.
Quick Horns (Make 2)
Round 1: 4 sc in magic ring (4)
Round 2: (1 sc, inc) x 2 (6)
Round 3–4: 1 sc in each st (6)
Fasten off leaving a long tail for sewing.
Info: Sew the horns on top of the head, slightly angled outward, and add tiny nostril stitches at the front.
Important Notes
💡 Use a stitch marker at the start of every round to avoid counting errors
💡 Keep your tension even; too tight makes stiff pieces, too loose makes holes
💡 Pin every piece in place before you sew it
💡 Use yarn slightly thinner than your working yarn for neater seams
💡 Test wire poseability before final assembly, and wrap the wire in fiberfill
💡 Secure safety eyes before stuffing, since they cannot be repositioned once locked