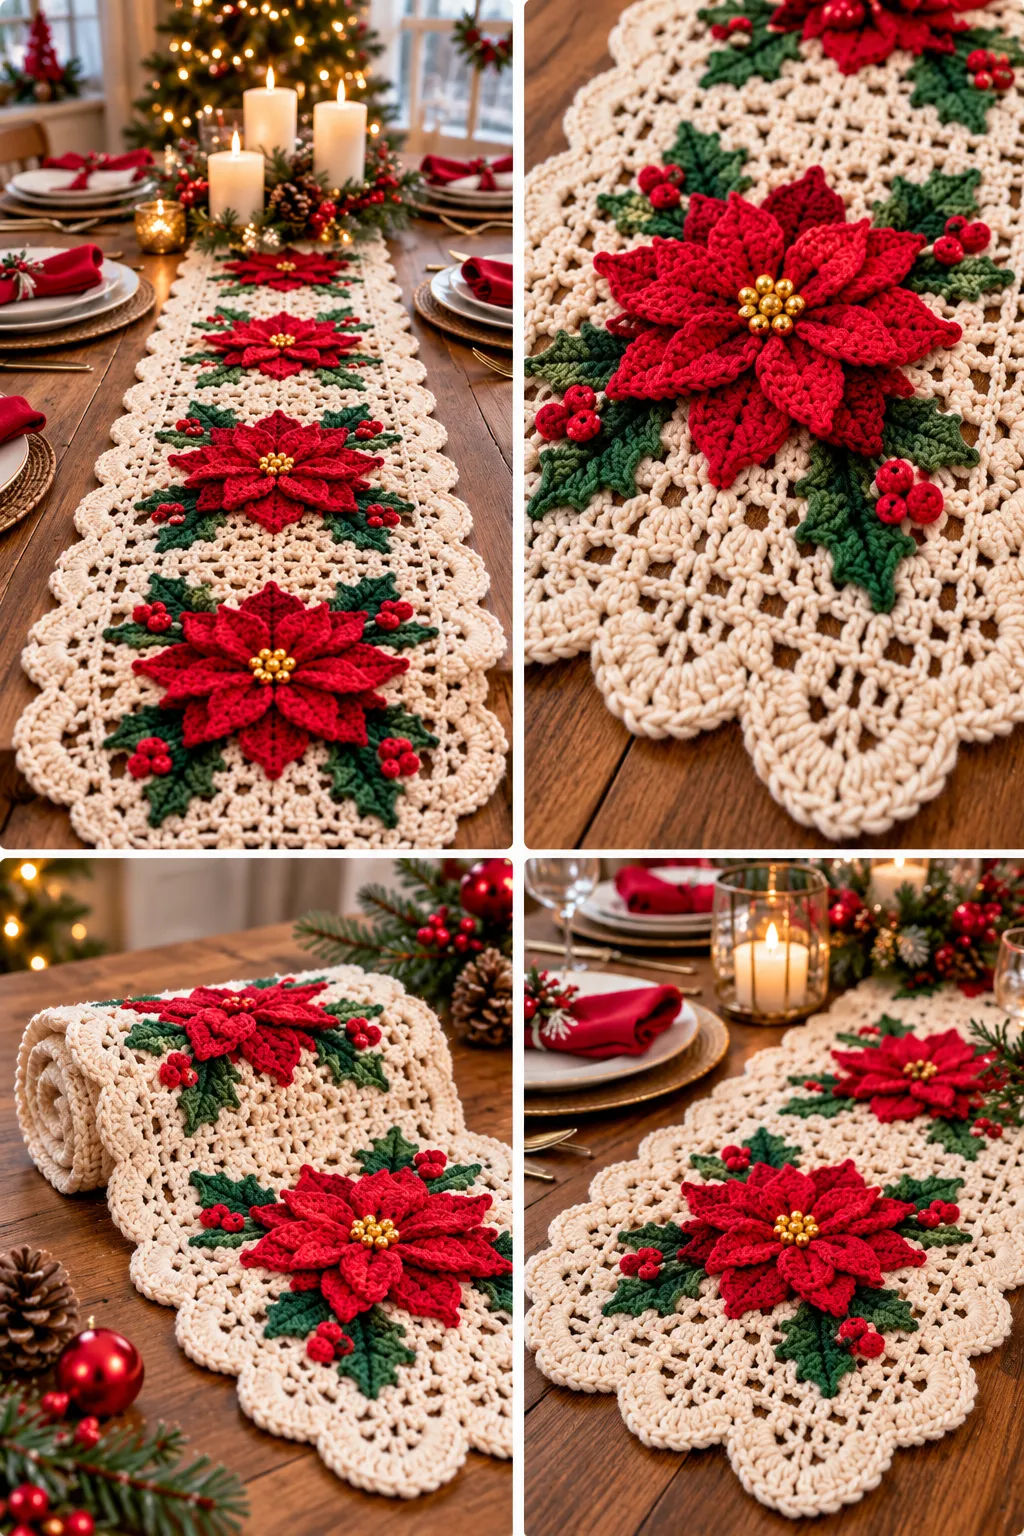
This title is close to the earlier table runner articles (flowers, cottagecore, sunflower, luxury lace), so I chose a new design: a classic granny square runner. Seven colorful squares are joined in a row and framed with a simple border. It is the easiest table runner in this series, because every square is identical and the joining is just slip stitches. Use it on a dining table, a dresser, or a sideboard, or make it in one color for a modern look.
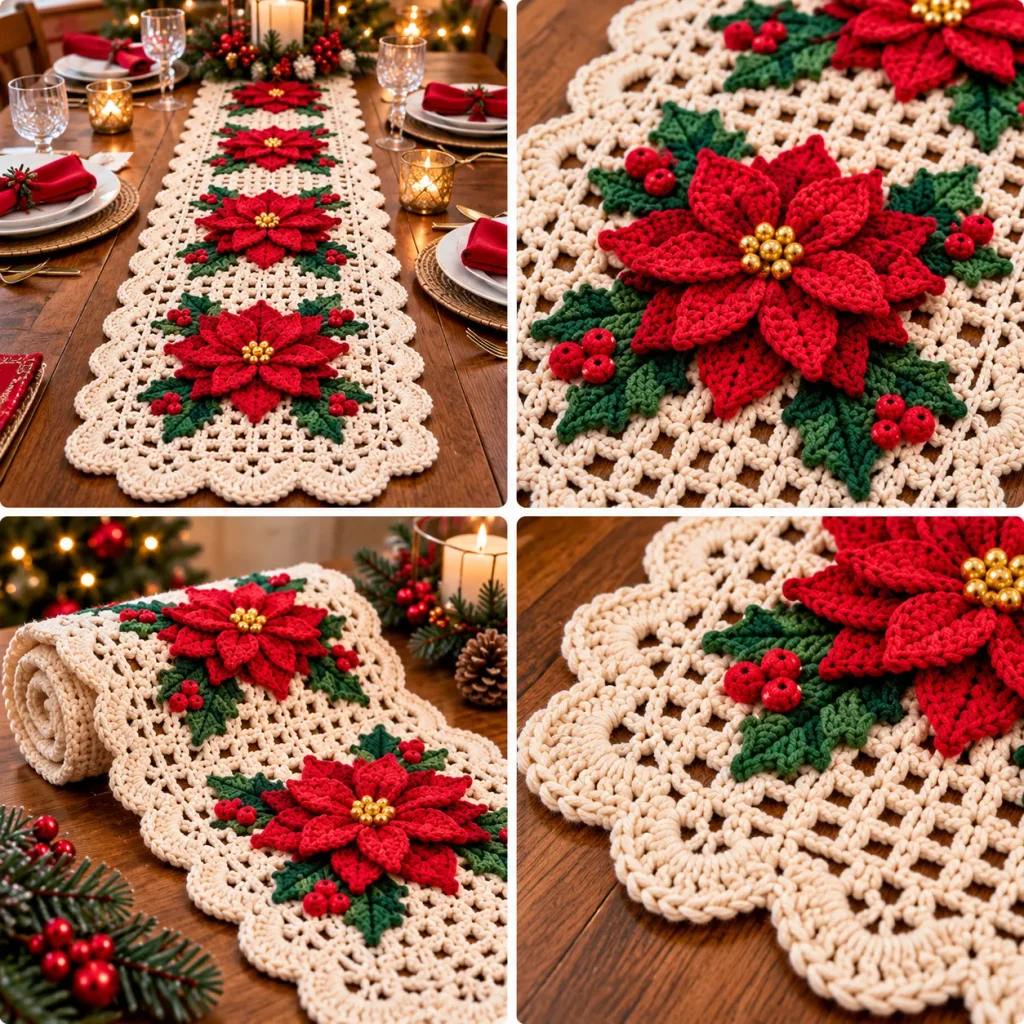
Pattern Information
Skill level: Beginner to advanced beginner, with basic joining.
Terms: US crochet terminology.
Construction: Seven granny squares are worked separately, joined together with slip stitches, then edged with a three-round border.
Estimated size: About 18 × 112 cm (7 × 44 in) after blocking, including the border. Each square measures about 15 cm (6 in). Actual dimensions depend on yarn, tension, and blocking.
Pattern note: This is an original design based on the title concept. Stitch counts have been checked, but the pattern has not been physically crocheted or independently tested. Make one square first and adjust the hook size to reach 15 cm.
Materials
- DK-weight cotton yarn in cream, approximately 120 g, for Round 3, the joining, and the border.
- Sage green, approximately 40 g, and dusty pink, approximately 40 g, for the inner rounds.
- A 3.5 mm hook as a starting point (adjust to your tension).
- Tapestry needle, scissors, stitch markers, and pins.
- Blocking mats and a spray bottle.
Stitches and Abbreviations
| Abbreviation | Meaning |
|---|---|
| ch | chain |
| sl st | slip stitch |
| sc | single crochet |
| dc | double crochet |
| sp | space |
| st(s) | stitch(es) |
Work in joined rounds, turning at the end of each round only if the pattern says so. Numbers in brackets give the stitch count at the end of each round. Repeat parentheses or asterisks the stated number of times.
Before You Begin
Make one square and measure it. If it is smaller or larger than 15 cm, change the hook size by 0.25 to 0.5 mm. All seven squares must be the same size for the runner to lie flat.
Cotton blocks very well, so a slightly uneven square will straighten out at the end.
Granny Square (make 7)
Round 1 (sage): Ch 4, join with a sl st to form a ring. Ch 3 (counts as the first dc), 2 dc in the ring, ch 2. (3 dc in the ring, ch 2) × 3. Join with a sl st to the top of the beginning ch-3. Fasten off. [4 groups of 3 dc, 4 corner ch-2 sps]
Round 2 (pink): Join pink in any corner ch-2 sp. Ch 3, (2 dc, ch 2, 3 dc) in the same sp. Ch 1, (3 dc, ch 2, 3 dc) in the next corner ch-2 sp. Repeat from * twice more. Ch 1, join with a sl st to the top of the beginning ch-3. Fasten off. [8 groups of 3 dc, 4 corners]
Round 3 (cream): Join cream in any corner ch-2 sp. Ch 3, (2 dc, ch 2, 3 dc) in the same sp. Ch 1, 3 dc in the next ch-1 sp, ch 1, (3 dc, ch 2, 3 dc) in the next corner. Repeat from * twice more. Ch 1, 3 dc in the last ch-1 sp, ch 1, join with a sl st to the top of the beginning ch-3. Fasten off. [12 groups of 3 dc, 4 corners]
Round 4 (cream): Join cream in any corner ch-2 sp. Ch 3, (2 dc, ch 2, 3 dc) in the same sp. (Ch 1, 3 dc in the next ch-1 sp) twice, ch 1, (3 dc, ch 2, 3 dc) in the next corner. Repeat from * twice more. (Ch 1, 3 dc in the next ch-1 sp) twice, ch 1, join with a sl st to the top of the beginning ch-3. Fasten off and weave in the ends. [16 groups of 3 dc, 4 corners]
Joining the Squares
Lay the squares in a row, all facing the same way. Hold two squares with wrong sides together, and with cream, slip stitch through both loops of the back sides along one edge, working in each stitch and each ch-1 sp across (about 15 sl sts). Fasten off. Join the remaining squares in the same way, one at a time.
Border
Round 1: Join cream in any corner ch-2 sp of the long edge. Ch 1, 3 sc in the same corner. Sc evenly along the edge, working 1 sc in each dc and 1 sc in each ch-1 sp, and 1 sc in each join. Work 3 sc in each outer corner. Join with a sl st to the first sc. [about 332 sc]
Note: the exact count depends on your tension, but the number of sc along each long edge should be a multiple of 4 plus 2. Adjust by skipping or adding a stitch.
Round 2: Ch 1, sc in the same st. Ch 3, skip 3 sts, sc in the next st. Repeat around, ending with a ch 3 and a sl st in the first sc. [arches around the edge]
Round 3: Sl st into the first ch-3 arch. In each arch work (3 dc, ch 2, 3 dc) as a shell. Join with a sl st, fasten off, and weave in the ends.
Finishing and Blocking
Wash the runner gently in cool water with a drop of mild soap and press out the water in a towel without wringing. Pin it flat on a blocking mat, with the long edges straight and each shell shaped. Let it dry completely before unpinning.
Practical Tips and Troubleshooting
The squares are different sizes. Check your tension and count the groups of dc in each round. Block them all to the same measurement before joining.
The corners are pointy. Work (3 dc, ch 2, 3 dc) in every corner and block firmly.
The runner ripples. Your joins may be too tight. Use a slightly larger hook for the joining.
The border does not lie flat. Check that Round 2 uses a multiple of 4 stitches, and adjust at a straight stretch rather than a corner.
The colors look uneven. Keep the same yarn weight and dye lot for each color.
FAQ
Can I use thicker yarn? Yes. Use a matching hook and expect larger squares. You may need fewer squares for the same length.
Can I make it wider? Yes. Make two rows of squares and join them side by side before the border.
Can I use one color? Absolutely. A single cream or grey runner looks modern and elegant.
Do I need to block it? It is strongly recommended. Blocking evens out the squares and sets the shells.
More Free Crochet Patterns
- Cottagecore Crochet Table Runner Pattern
- Sunflower Crochet Table Runner Pattern
- Luxury Crochet Table Runner Pattern
Save This Pattern
Pin this Free Crochet Table Runner Pattern to your Pinterest board for your next home project. Happy crocheting!