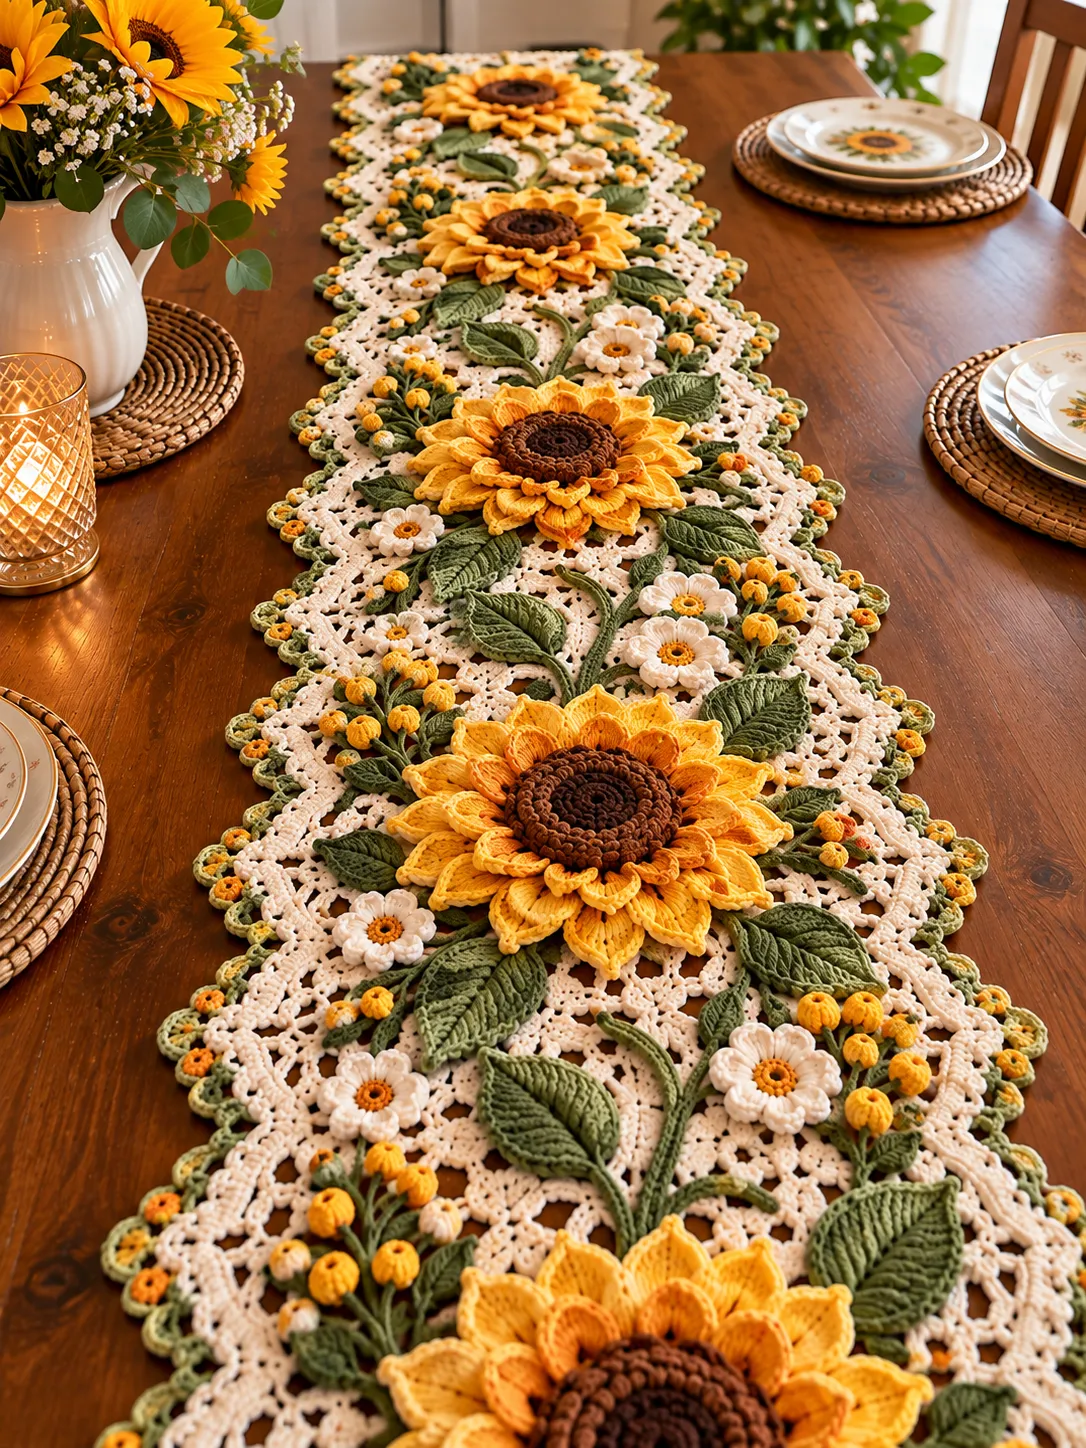
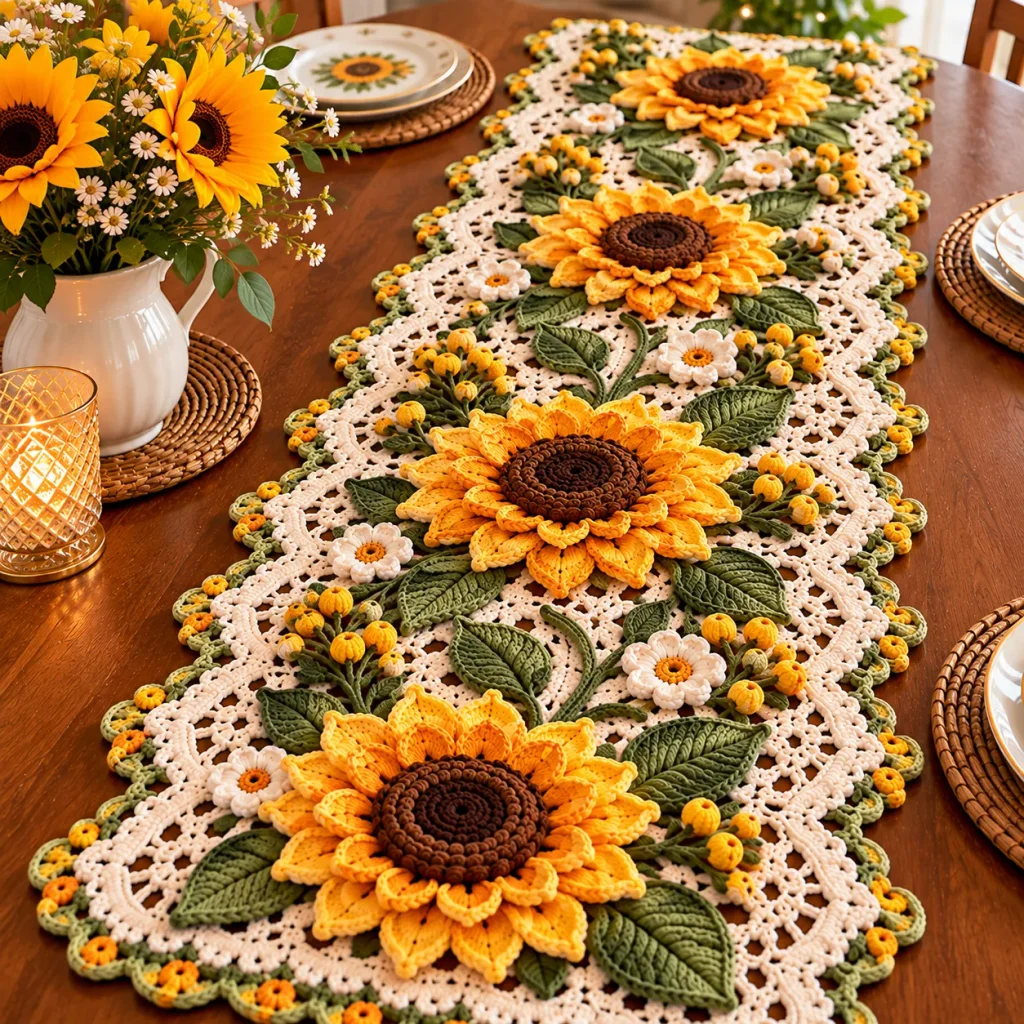
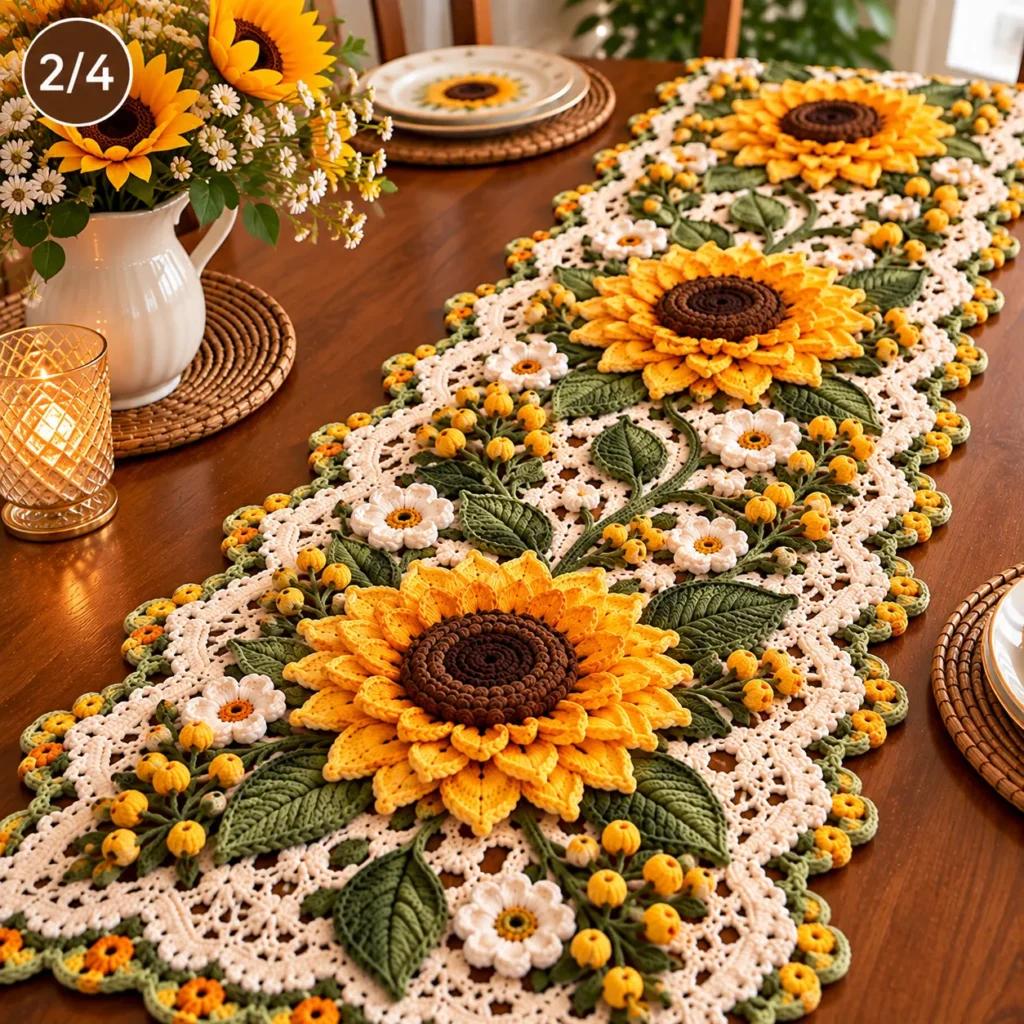
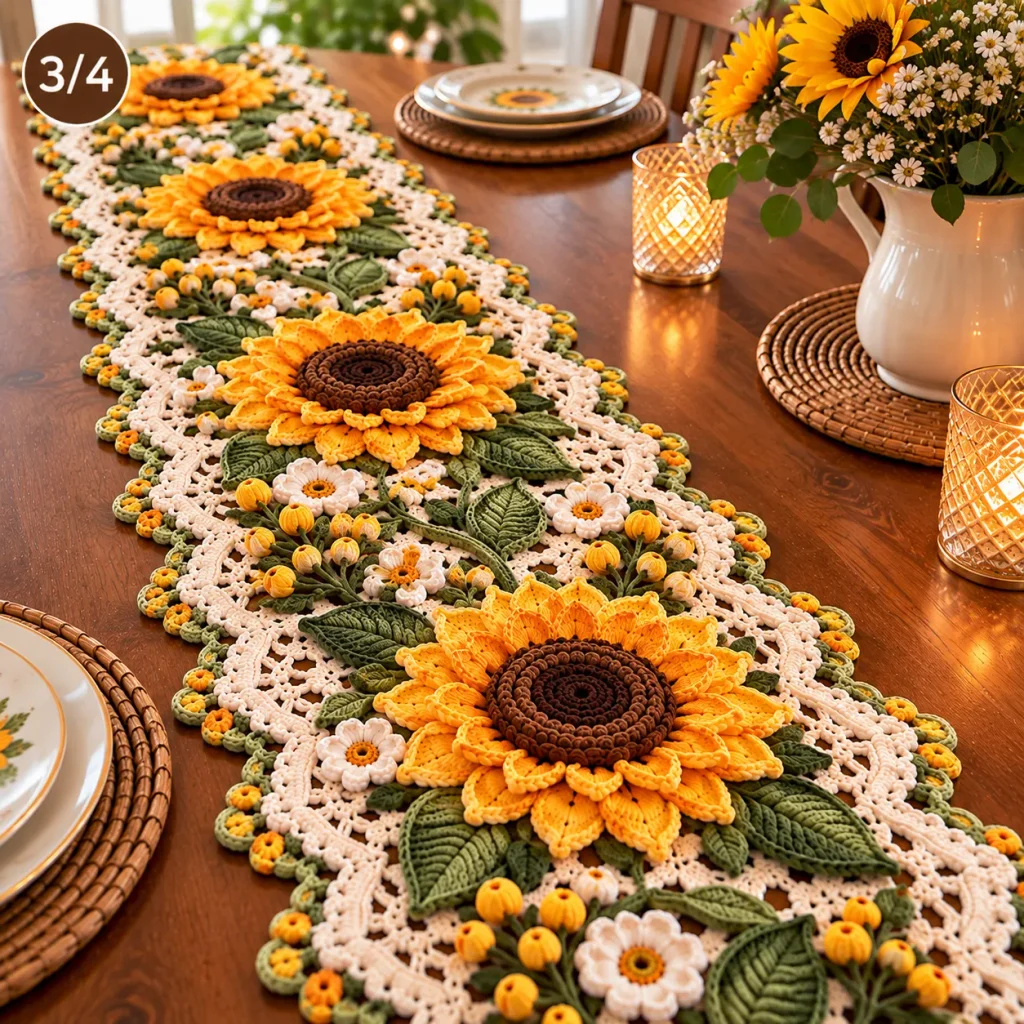
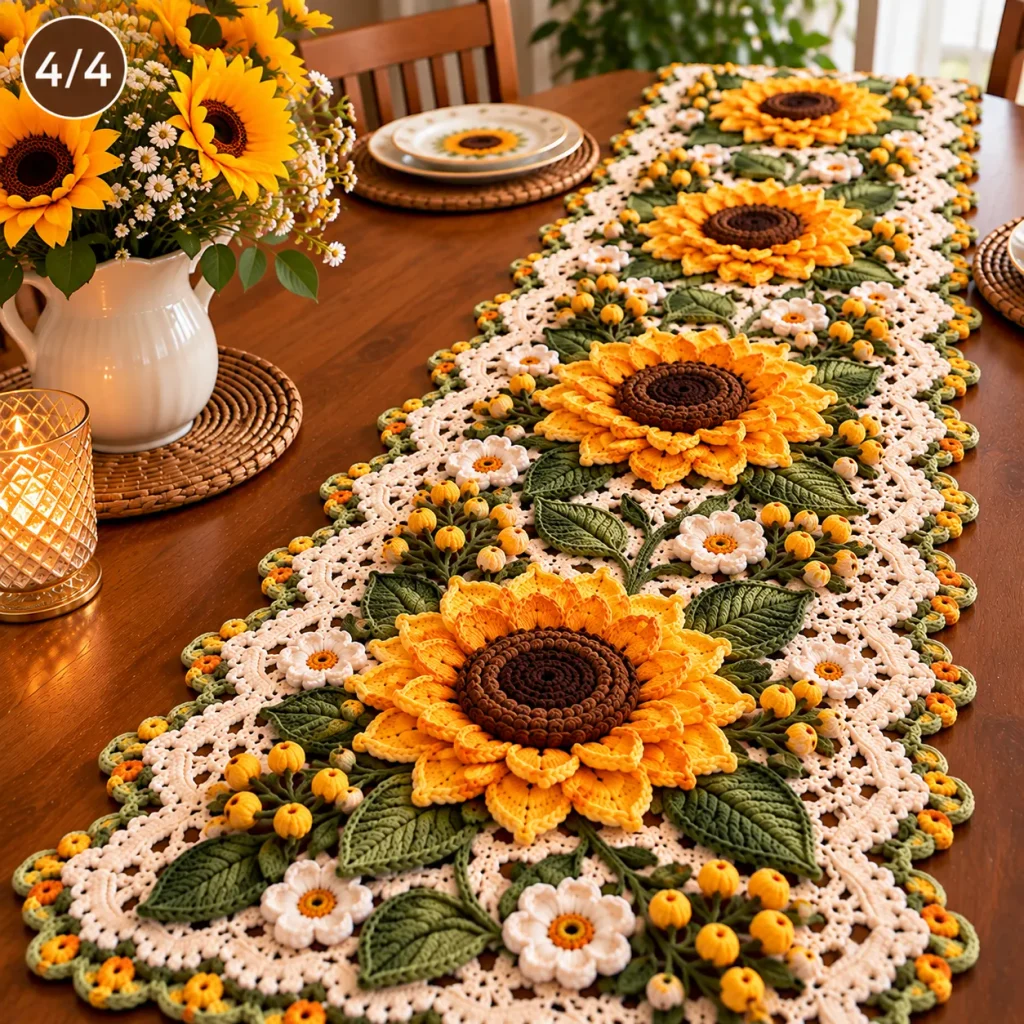
This pattern creates a delicate floral table runner made from nine layered flower motifs joined in a single row. Each flower has a small center, four front petals and four larger back petals that peek out between them, so every motif looks like a tiny piece of botanical art. Soft green leaves fill the gaps between the flowers, and a scalloped border frames the whole runner for a finished, heirloom look.
Despite its elegant look, the runner uses only basic stitches: single crochet, half double crochet, double crochet and slip stitch. The magic lies in how the petals are layered and joined as you go, which means there is no separate assembly at the end. The finished runner measures about 85 x 14 cm (33 x 5.5 in), perfect for a dining table, a dresser or a sideboard.
Why You’ll Love This Table Runner
I love this pattern because it proves that simple stitches can create something that looks truly artistic. The moment the back petals appear behind the front ones, the flower suddenly gains depth, and it never gets old. Because each motif is small, the project is also wonderfully portable: you can make one flower on the bus, another on the sofa, and watch the runner grow one blossom at a time. My favorite step is choosing the colors, since a few skeins of cotton can turn into something that looks like it belongs in a boutique.
Switch Things Up
Change the palette to match your home. Soft white flowers with sage leaves feel timeless, while mustard petals on a charcoal runner look modern and bold. Try ombré petals by using a different shade for the front and back layers, or make every flower a different color for a garden-bed effect.
You can also change the size. Use a thicker cotton with a larger hook for a bolder runner, or add more flowers for a long dining table. To make a square doily or placemat, join a 3 x 3 block of flowers instead of a single row. For a finishing touch, add a tiny bead or a French knot in the center of each flower.
Common Mistakes & How to Fix Them
✗ Using wool or a fuzzy yarn hides the petal definition; choose smooth mercerized cotton so every stitch shows
✗ Working petals too tightly makes the motif cup and refuse to lie flat; use a hook one size larger for the petal rounds
✗ Forgetting to work behind the front petals in Round 3 makes the back layer sit on top; hold the petals forward and insert your hook behind them
✗ Joining at the wrong stitch causes twisted, uneven rows; mark the center dc of each petal before you join
✗ Skipping blocking leaves curled edges; pin the finished runner flat, mist with water and let it dry fully
✗ Pulling the border too tight makes the runner ruffle; work the edging loosely and match the stitch count to the curves
✗ Weaving in ends carelessly lets them pop out after washing; weave each end in at least three directions
The Runner at a Glance
Create a stunning floral table runner with layered petals, leafy accents and a scalloped edge. This step-by-step pattern guides you through one flower motif, a join-as-you-go method and a delicate border. Ideal for crocheters who enjoy relaxed, repetitive stitching with beautiful results.
Level: Intermediate
Time: 10–12 hours
Finished size: about 85 x 14 cm (33 x 5.5 in), depending on tension
Materials Needed for the Table Runner
— Yarn
01. DK weight mercerized cotton, approx. 100 g in Cream (back petals and border)
02. DK weight mercerized cotton, approx. 70 g in Blush Pink (front petals)
03. DK weight mercerized cotton, approx. 30 g in Golden Yellow (flower centers)
04. DK weight mercerized cotton, approx. 40 g in Sage Green (leaves)
— Tools Required
01. 3.0 mm crochet hook for the centers and leaves
02. 3.5 mm crochet hook for the petals and border (optional, for a softer drape)
03. Yarn needle for weaving in ends
04. Stitch markers (at least 4)
05. Scissors
06. Blocking mat and rust-proof pins
07. Spray bottle with water
Abbreviations (US Terms)
- ch: chain
- sl st: slip stitch
- sc: single crochet
- hdc: half double crochet
- dc: double crochet
- inc: 2 sc in the same stitch
Flower Motif (Make 9)
Info: Work the center in Golden Yellow, then change colors as indicated. Keep your tension relaxed for the petal rounds so the flower lies flat.
Round 1 (Golden Yellow): 8 sc in magic ring, sl st to the first sc and fasten off (8)
Info: Join Blush Pink in any stitch of Round 1. The four stitches you skip in the next round will become the anchors for the back petals, so mark each skipped stitch with a stitch marker.
Round 2 (Front petals, Blush Pink): *(sl st, ch 2, 3 dc, ch 2, sl st) in the next st, skip 1 st; repeat from * 4 times in total, sl st to join (4 petals)
Info: Fold the front petals forward. In the next round, you will work behind them, into the four stitches you skipped.
Round 3 (Back loops, Cream): Join Cream in a skipped stitch of Round 1 from behind the petals. *Ch 5, sl st in the next skipped stitch; repeat from * 3 more times, ending with the last ch-5 and a sl st in the first skipped stitch (4 ch-5 loops)
Round 4 (Back petals, Cream): In each ch-5 loop work (sl st, ch 3, 7 dc, ch 3, sl st), sl st to join and fasten off (4 large petals)
Info: Block each flower lightly before joining. Aim for a diameter of about 10 cm; the petals on opposite sides should be roughly straight so that the flowers line up in a neat row.
Join-as-You-Go Method
Info: Make Flower 1 as written. For Flowers 2 to 9, work Rounds 1 to 3 as usual, then change Round 4 so that one back petal joins the previous flower:
Joining petal: (sl st, ch 3, 3 dc), sl st into the 4th dc of the facing petal of the previous flower, 3 dc, ch 3, sl st. The joining sl st replaces the center dc of that petal.
Info: Always join to the same side (for example, the right-hand petal of the previous flower) so every join is identical. The result is a straight row with a small diamond-shaped gap between each pair of flowers, which you will fill with leaves.
Leaves (Make 8)
Row 1 (Sage Green): Ch 8. Sl st in the 2nd ch from the hook, sc, hdc, 2 dc, hdc, 3 sc in the last ch. Rotate to work down the other side of the chain: hdc, 2 dc, hdc, sc, sl st in the last ch. Fasten off leaving a tail for sewing.
Info: Sew one leaf into each diamond gap between flowers, pointing the tip upward. For a more natural look, sew a second leaf pointing downward in the same gap, or mix leaf sizes by starting with ch 6 or ch 10.
Scalloped Border
Info: Join Cream at the tip of any petal on the outer edge. Work in a continuous round around the whole runner, working loosely.
Round 1: Sc around the outer edge, working 3 sc in each petal tip and 1 sc in each remaining stitch or chain space; at each join, work 1 sc in the join and skip the gap. Sl st to the first sc. Adjust so the total stitch count is a multiple of 6.
Round 2 (Scallops): *Skip 2 sts, 5 dc in the next st, skip 2 sts, sl st in the next st; repeat from * around, sl st to join and fasten off.
Info: If your count does not fit exactly, add or skip a stitch at the flat sections rather than at the petal tips, so the scallops stay evenly spaced.
Finishing and Blocking
Info: Weave in all ends. Pin the runner flat on a blocking mat, shaping each petal and scallop, then mist lightly with water. Let it dry completely for 24 hours before using it. Cotton holds its shape beautifully after blocking, and the petals will look crisp and defined.
Assembly Instructions
- Make Flower 1, then fasten off.
- Work Flower 2 and join it to Flower 1 using the joining petal method, then continue until all nine flowers are connected in a single row.
- Make the eight leaves and sew them into the diamond gaps, stitching through the back loops for a neat, flat finish.
- Work the scalloped border around the entire runner.
- Weave in every end carefully, hiding tails inside the petal stitches.
- Block the runner to size and let it dry flat before placing it on your table.
Important Notes
💡 Mark the 4th dc of every petal before you start joining, so you never lose count
💡 Use smooth cotton yarn for clear petal definition and easy washing
💡 Block the first flower as a test to check your size and gauge
💡 Keep a consistent tension; tight petals curl, loose petals flop
💡 Always weave ends in three directions so they survive laundering
💡 Wash gently by hand or on a delicate cycle, then reshape and dry flat